Textured wall art is a great way to add some style, charm, and personality to your home. Not only that, but it’s also a way for you to get creative and show off your unique sense of style. While you can easily find wall art at the thrift store or home depot, there are many inexpensive ways to make your own that are just as unique and these DIY textured wall art projects can help you get started.
When I’m decorating my home, one of the things I love most is adding art to my walls. There’s something special about finding that perfect piece that really speaks to me, and having it as a focal point in my living room or bedroom. Art has the remarkable ability to not only bring instant vibrancy and joy to your walls but also revitalize an entire room. The fun part about doing it yourself is that you get to choose from so many different materials, styles, and techniques.
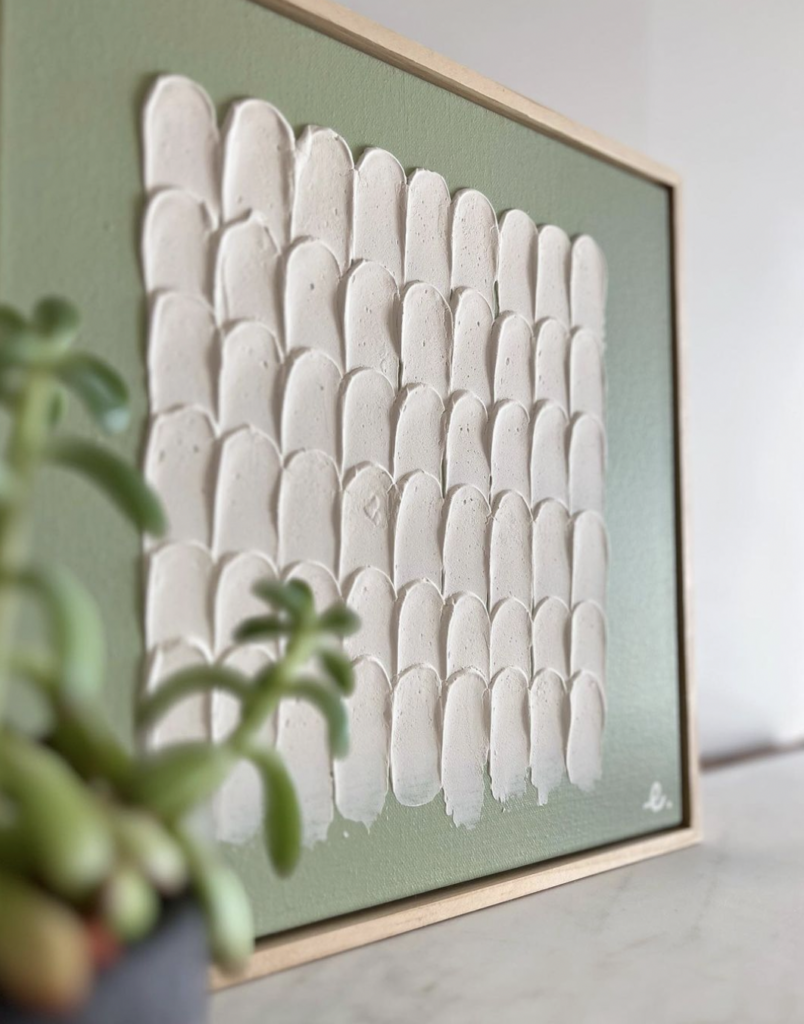
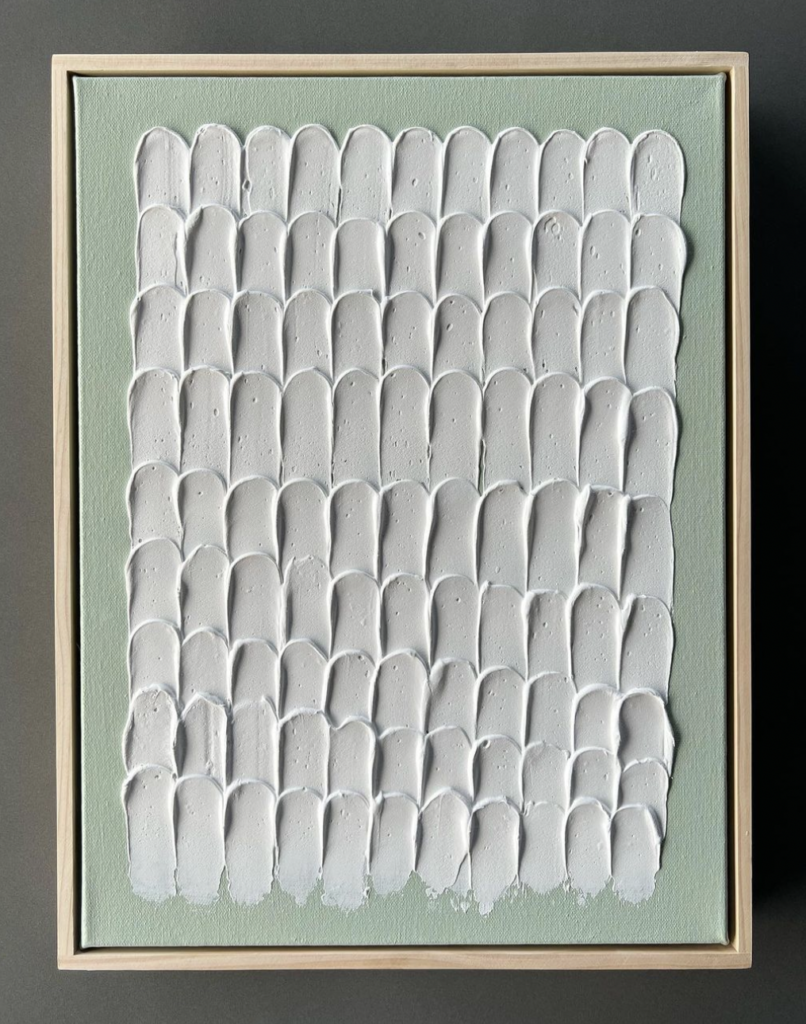
In my living room, I have an entire canvas that’s textured using a round putty knife and drywall mud. The whole thing was pretty simple to do, and I love how unique the final result is.
When creating DIY textured wall art the key is to go for an abstract painting that’s made using a variety of materials. You can create all sorts of different textures by using things like a paper towel, sponge, yarn, rope, acrylic paint, chalk paint, and more.
Building Your DIY Wall Art Project
Inspiration
The first step is to decide what look or aesthetic you’re going for. Using inspiring sources like Pinterest, Instagram, and other social media can help you get inspired. Look for a piece of art that speaks to you.
Websites like West Elm, Etsy, and other craft stores are other great sources of inspiration. There are many different looks you can create so it’s a good idea to make a plan before you get started. I have a Pinterest board that’s full of wall art ideas that I love and find inspiring, it’s a great starting point.
Also, take a look at the space you’re planning to add the wall art and see which colors, textures, or patterns would work best. Abstract wall art works great in just about any room including living rooms, bedrooms, and bathrooms.
Materials
Once you have a source of inspiration the next step is my favorite part. Collecting materials for your DIY textured wall art. This is truly where your imagination can run wild. Items that you can find anywhere can create so many different looks when used with paint. Materials like fabric, rocks, and even a plastic fork can create an interesting texture. If you are unsure of where to begin when choosing materials here’s a texture guide for you:
Bumpy/Popcorn – materials such as sand, rocks, pebbles, and even rice can be used to create this texture.
Crinkled/Wrinkled – items such as a paper towel, coffee filters, fabric, or even bubble wrap can be used to add this texture.
Ribbed – items such as rope, yarn, fabric strips, and sheets can be used to create this look.
Soft/Fuzzy – materials such as a sponge, paper towel, or makeup brush can be used to create this texture.
Look closely at your inspiration piece for inspiration and go from there.
Techniques
Once you have all of your materials it’s time to start creating the texture in your wall art. This step is where your creativity really gets a chance to shine and the possibilities are truly endless. Here are some techniques that can help you get started:
Paint swirls – use a paintbrush to create swirls of paint across the canvas for an interesting effect.
Crumple – crumple your chosen material and then apply paint to it before removing the crumpled area to expose the texture.
Stripes/Dots – use tape or painters tape to create clean lines and either dip in paint or use a pencil to add dots for an interesting textured look.
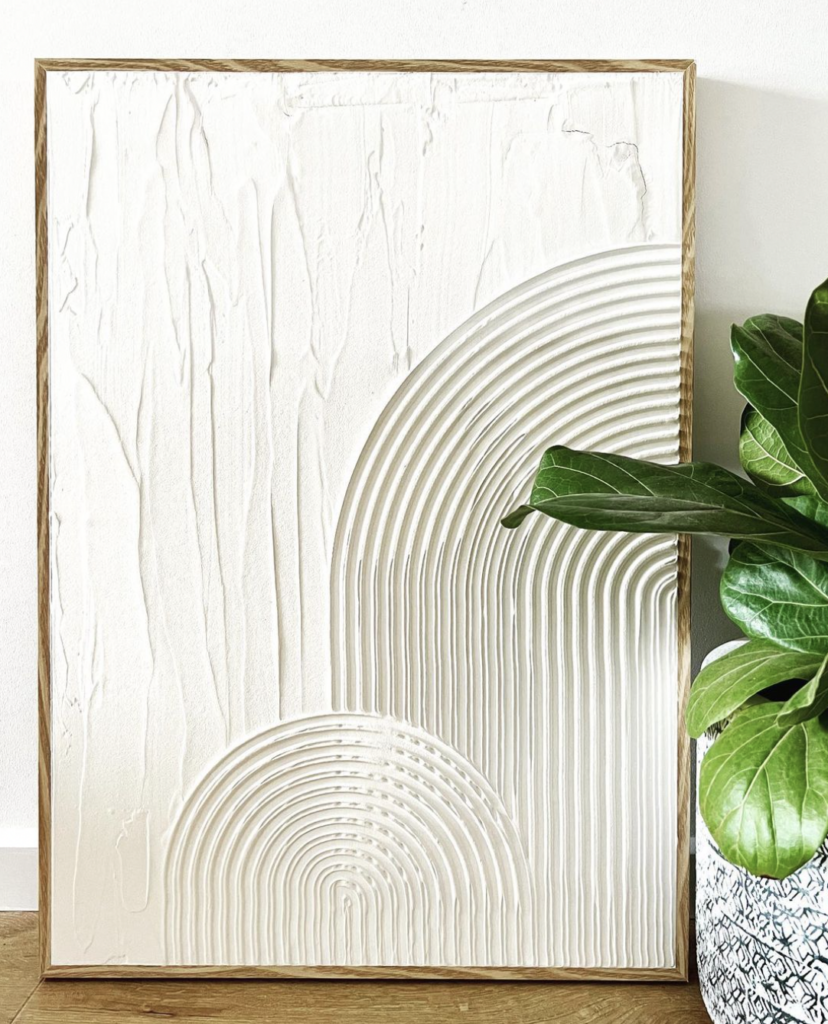
Radial – create concentric circles of different colors and textures across the canvas for a cool modern look.
Dried Paint – apply paint to your chosen material and then let it dry before adding another layer of color or texture on top.
Using these techniques, you can create an abstract piece that’s sure to make a statement in any room. Remember there isn’t a right or wrong way to do it, simply play with your materials and see what you can create.
To get you started I have a few of my favorite DIY wall texture art tutorials below:
7 Easy DIY Textured Wall Art Tutorials
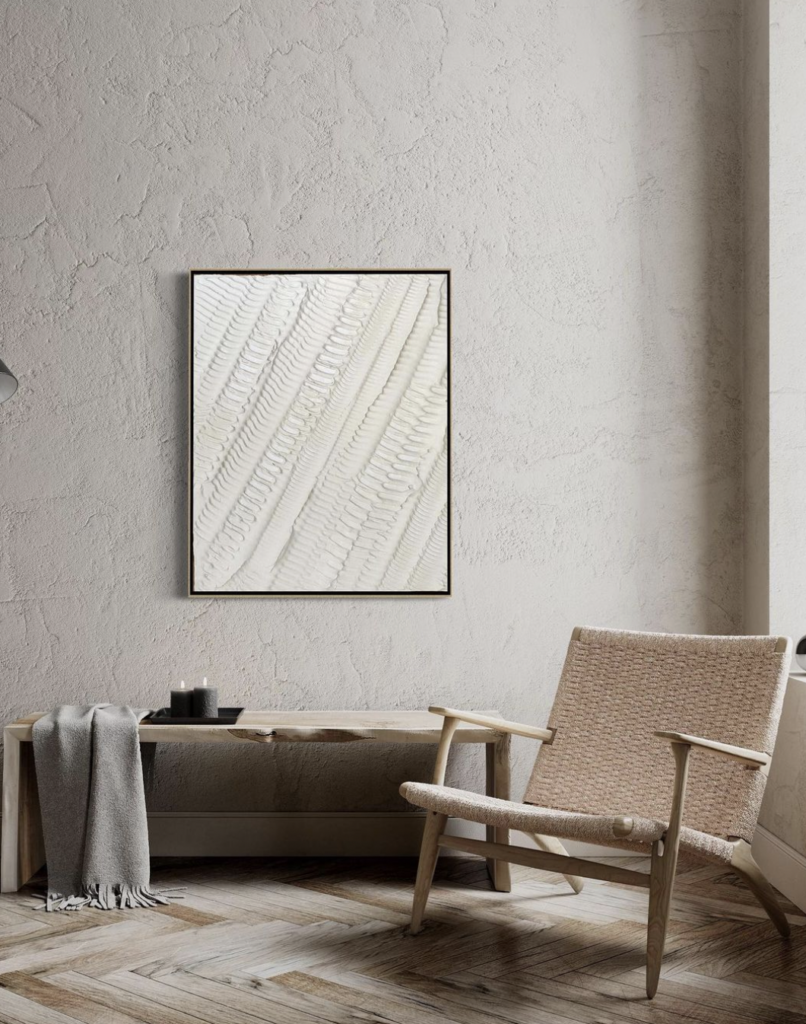
1. DIY Minimalist Textured Art on Canvas
Not sure about filler, plaster, or spackling? This video by All Things Grace is a great place to start. She walks you through the process of creating a simple yet modern abstract textured piece on a canvas.
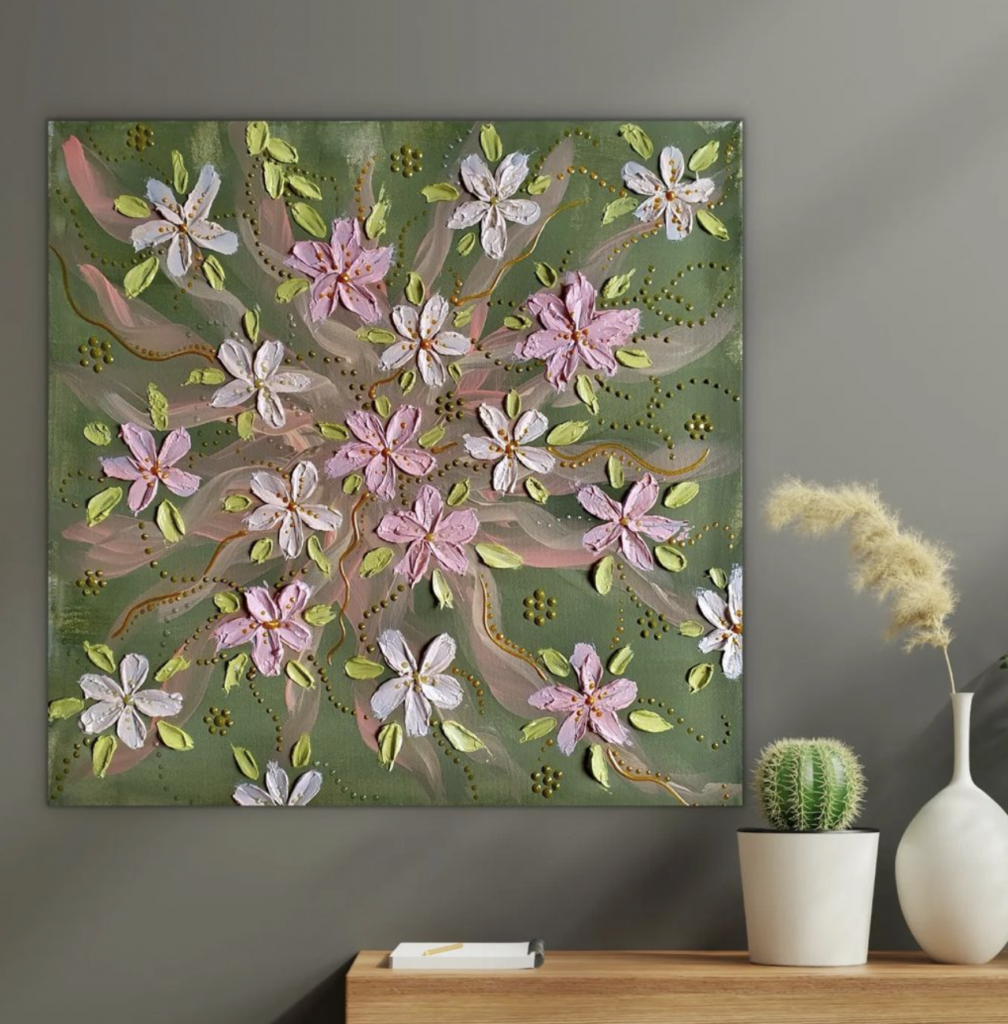
2. Palette Knife Modern Flower Textured Wall Art
Textured flowers are a great way to add some unexpected color and texture to your walls. Using a palette knife and acrylic paints, this tutorial by sheri vegas shows you how to create a beautifully textured flower piece that will brighten up any room.
3. DIY Textured Wall Art on a Budget
If you’re looking for an inexpensive DIY to add some texture to your walls, this tutorial by Home By Mon is perfect. It shows you how to use basic materials like cardboard and acrylic paint to create three different textured pieces that are sure to add interest and personality to any room.

4. 3D Fabric Textured Art on Canvas
If your choice of materials includes fabric or other soft materials, you can create a 3D textured piece that really pops. This tutorial by Parisa Art Designs uses materials fabric, wood glue, plaster, and acrylic.

5. Wood Chip Textured Wall Art
Want to add nature to your art? This tutorial by Sergio Aranda ART is an easy way to add some depth and texture to your walls using readily available materials like wood chips sand, white paint, and a bit of glue.

6. Minimal Materials Textured Wall Art
If you’re looking for a quick and easy way to add texture to your walls, this tutorial by Home By Mon again is perfect. It uses 3 simple materials to create a beautifully textured piece that’s sure to make a statement in any room.
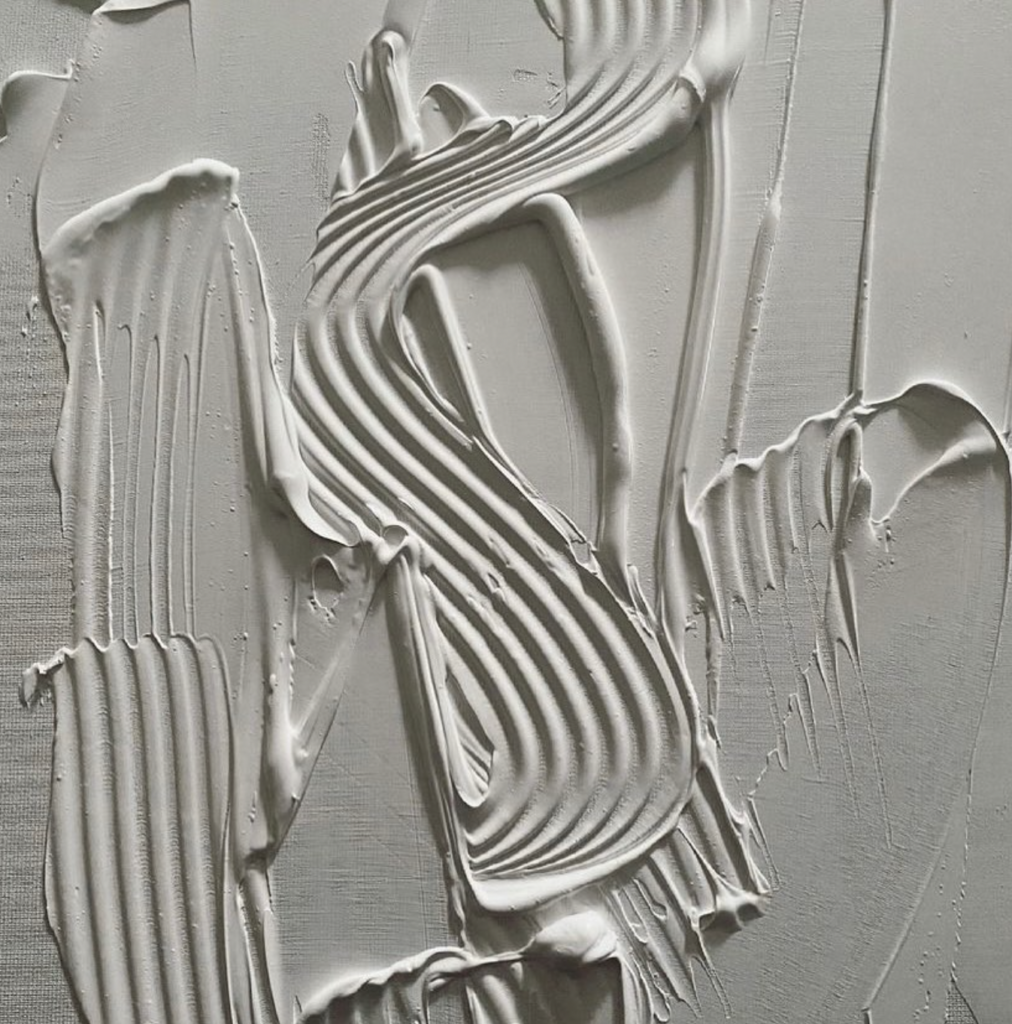
7. Wall Putty DIY Texture Techniques
If you want to freestyle your texture and create something truly unique, this video by CREATIVE HACKS shows you how. Using wall putty, she creates a variety of textured pieces that are sure to be eye-catching in any room.
No matter which technique you choose, with some creativity and a little trial and error you’ll be well on your way to creating your own unique wall art with texture! I prefer to work with paints, plaster, and other materials like fabric because they’re so versatile and allow for endless possibilities.